


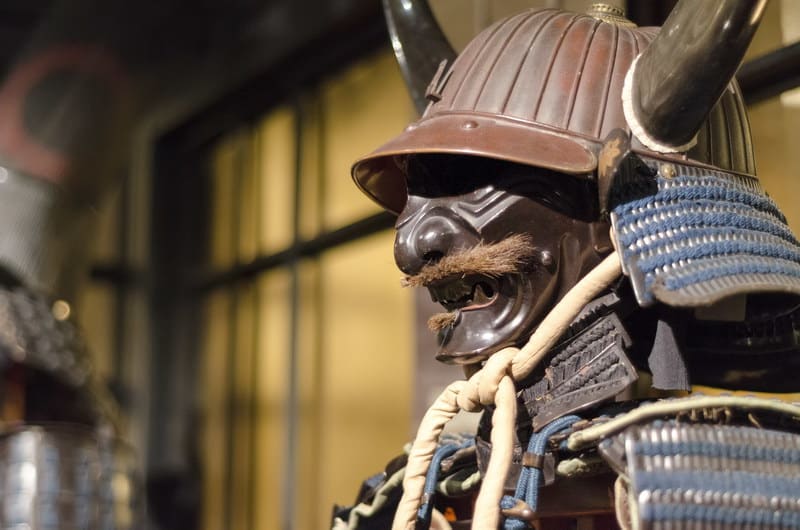
Sword Engraving
Blade Coloring
Custom Size
Full Tang Katana
Clay Tempered Katana
Folded Steel


How is a Katana sword made?
The making of a Katana sword is a meticulous and traditional process that has been refined over centuries. It involves multiple stages, each requiring expert craftsmanship and a deep understanding of materials and techniques.
Here is an overview of the key steps in the process:

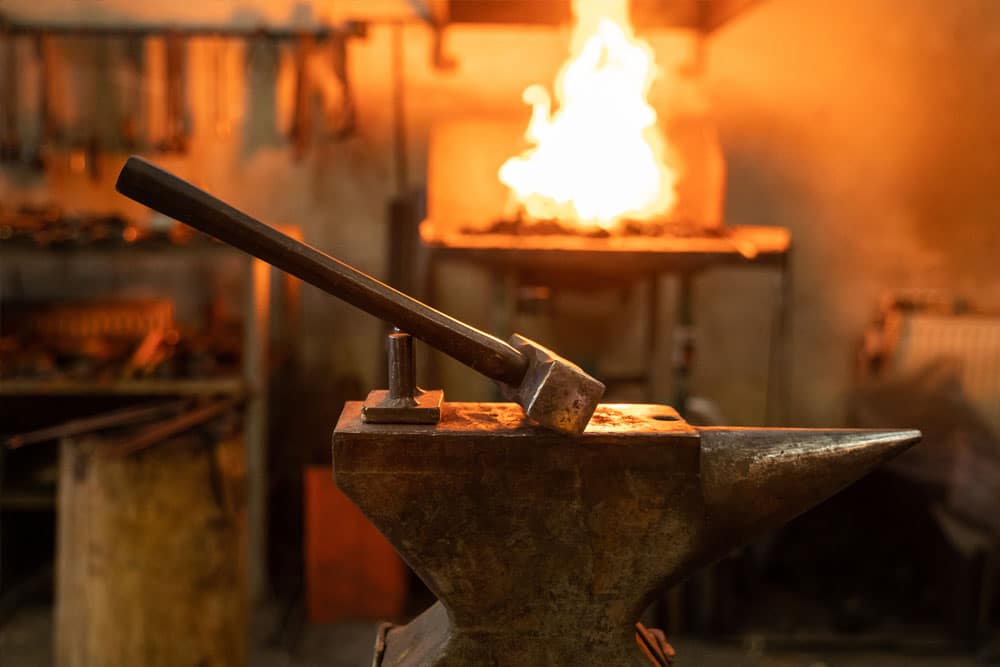
Material Preparation
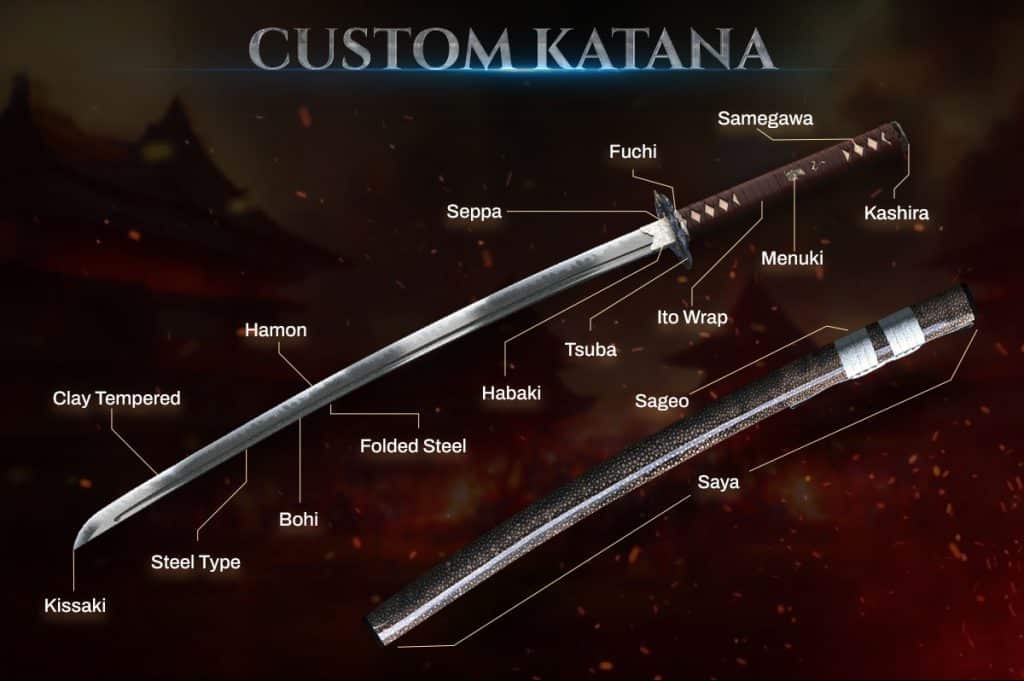
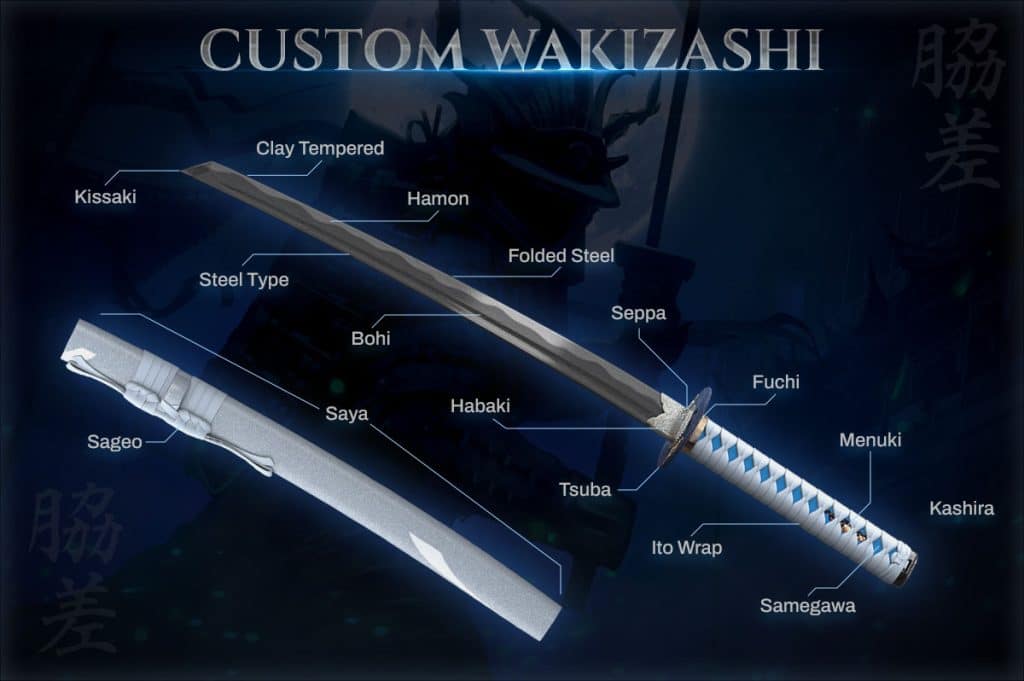
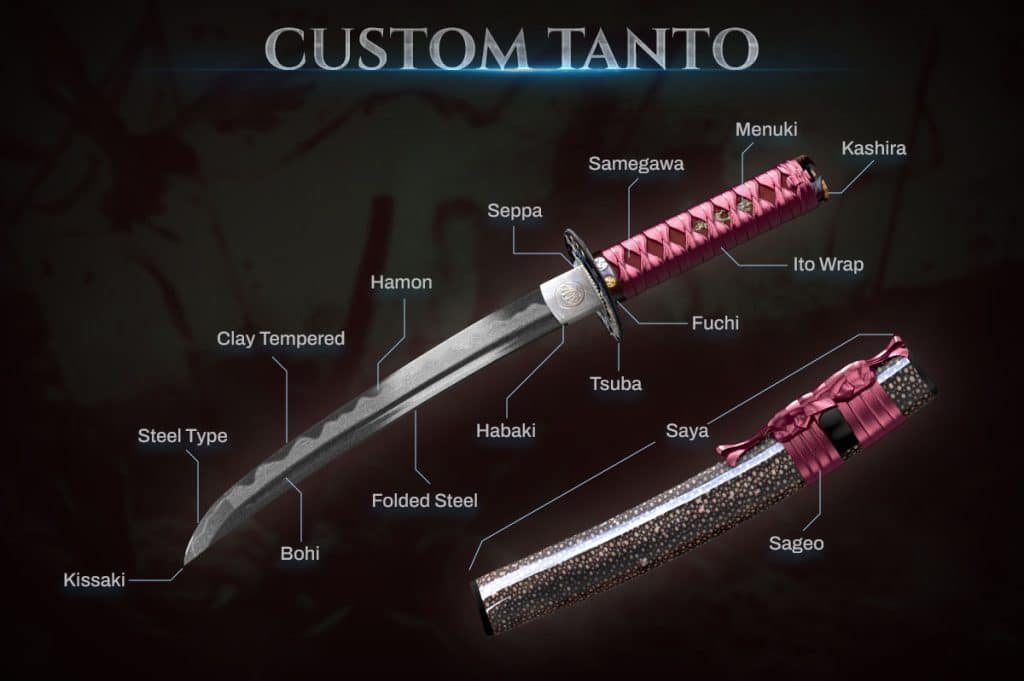
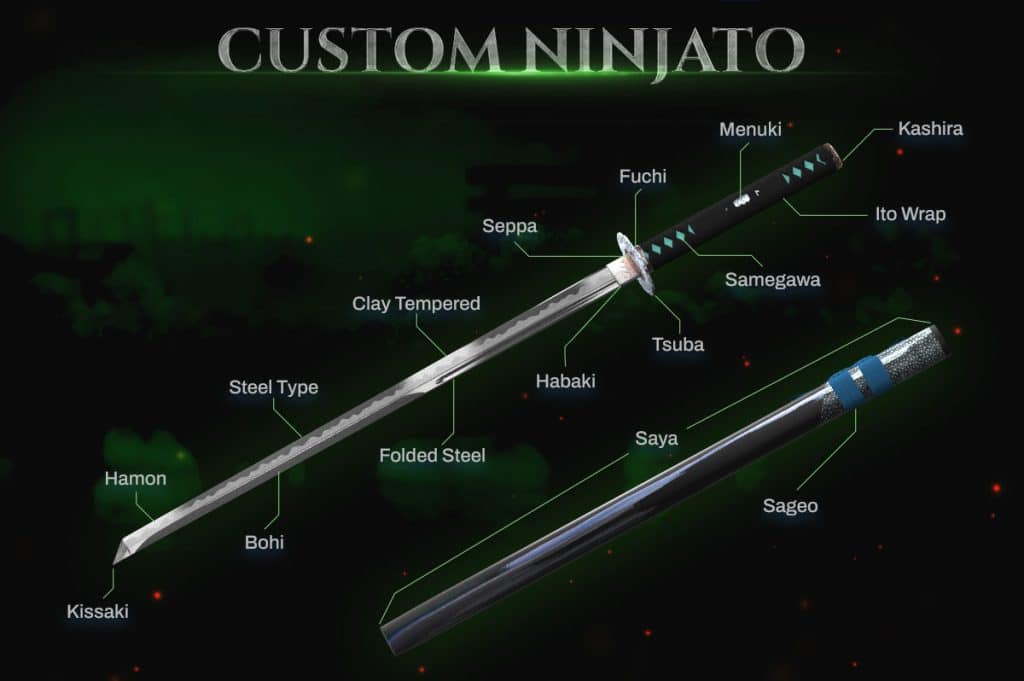
Tamahagane Steel: The traditional material for a Katana is Tamahagane steel, which is made from iron sand. This steel is produced in a Tatara, a clay furnace, where the iron sand is smelted with charcoal to create high-quality steel. The steel is then sorted based on its carbon content.
Initial Forging: The swordsmith starts by forging the Tamahagane steel into a rough shape. High-carbon steel (kawagane) is used for the edge, while low-carbon steel (shingane) forms the core. This combination provides the blade with both sharpness and flexibility.
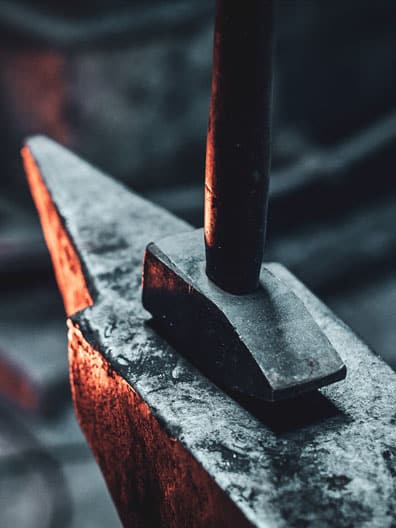
Forging and Folding
Folding Process: The steel is heated, hammered, and folded multiple times (usually between 10 to 15 times). This process removes impurities and creates the blade’s distinctive layered structure. Folding also distributes carbon evenly throughout the steel, enhancing its strength and durability.
Tsukurikomi (Shaping the Blade): The folded steel is then shaped into the rough form of a blade. This involves precise hammering to create the Katana’s signature curvature and overall shape.


$429
Sale!

Original price was: $420.$380Current price is: $380.


Katana Swords
$649


Katana Swords
$225
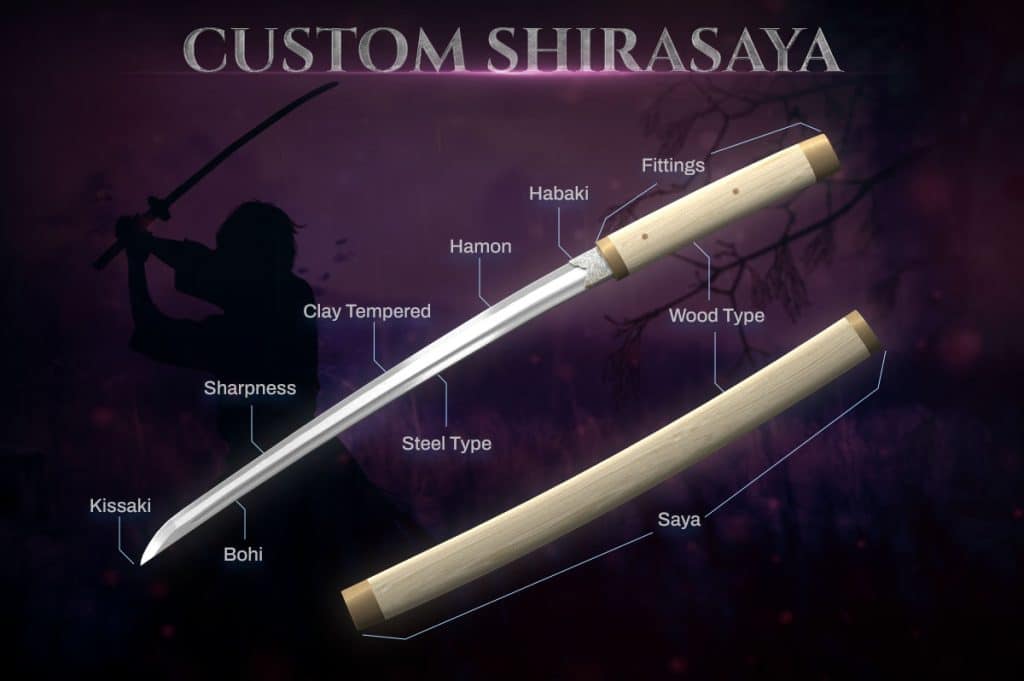
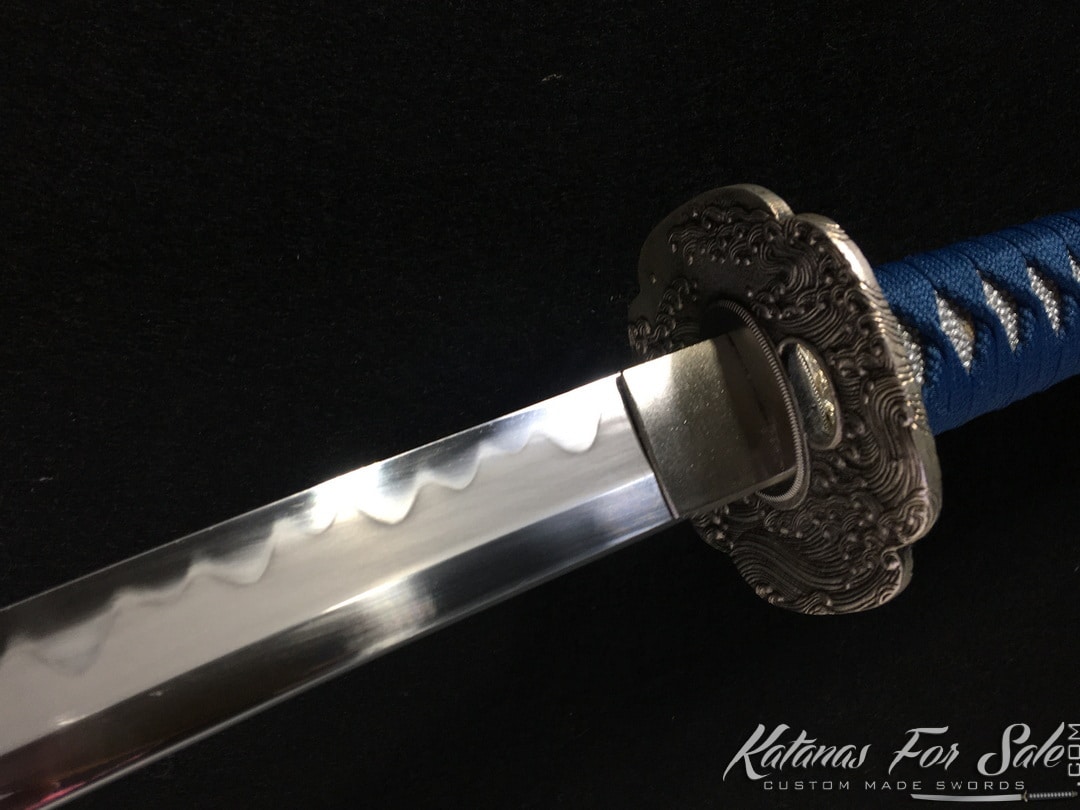
Differential Hardening
Clay Application: A mixture of clay, charcoal, and ash is applied to the blade. The edge is coated with a thin layer, while the spine is covered with a thicker layer. This technique, known as “yaki-ire,” ensures that the edge hardens more than the spine during quenching.
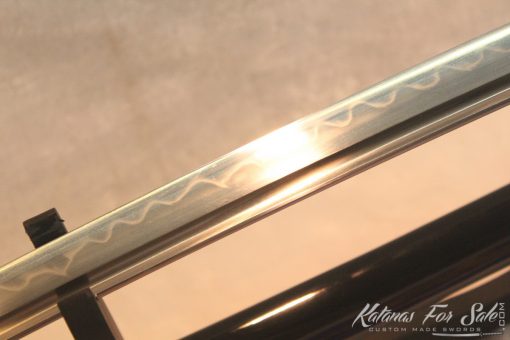
Quenching: The blade is heated in a forge and then quenched in water. The differential hardening process creates a harder, sharper edge and a more flexible spine. The rapid cooling also forms the Hamon, the visible temper line along the edge, which is a hallmark of quality Katanas.
Polishing
Rough Polishing (Shitaji): The blade is polished using a series of coarse stones to refine its shape and reveal the Hamon.
Final Polishing (Shiage): Finer polishing stones are used to sharpen the edge and bring out the blade’s aesthetics. This step requires great skill to achieve a mirror-like finish and perfect edge alignment.

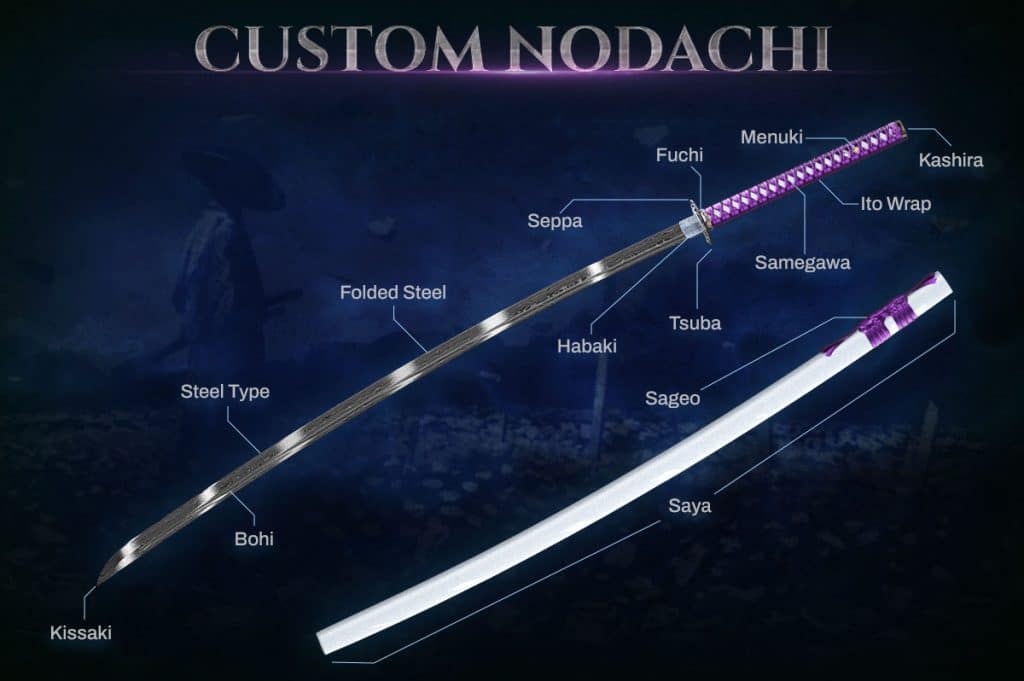
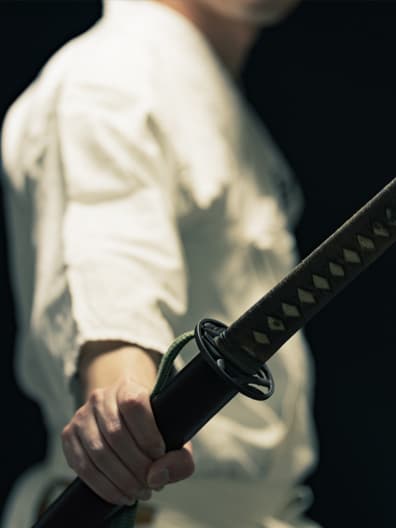
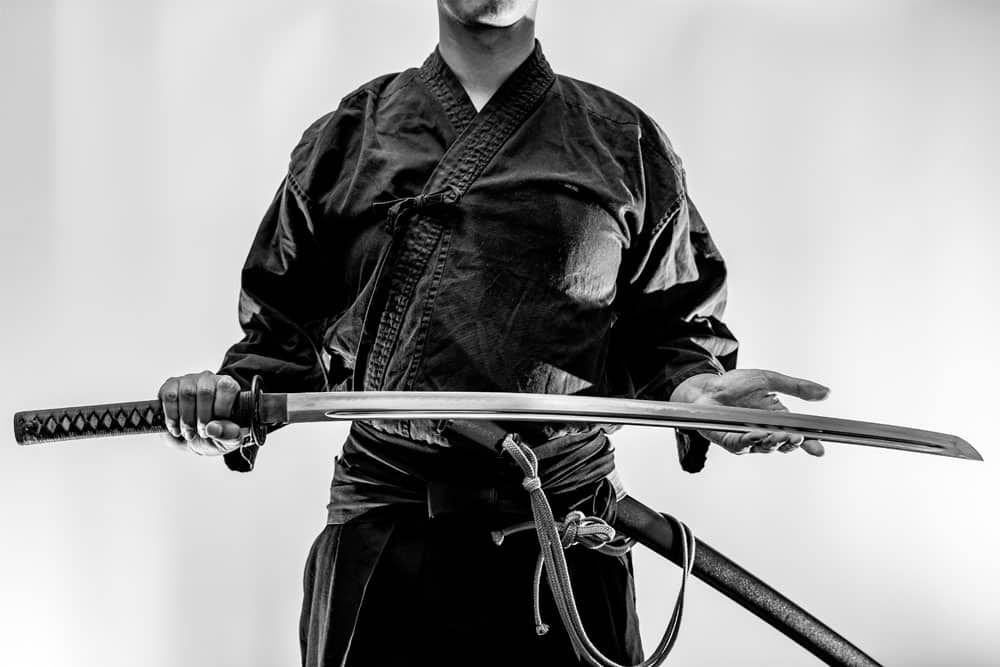
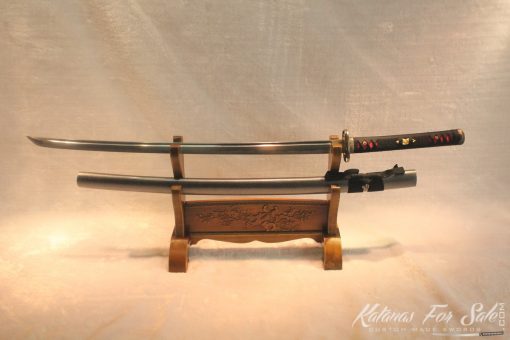
The Mounting Process of a Katana
The mounting process, known as “Koshirae,” involves fitting the blade with its handle (Tsuka), guard (Tsuba), and scabbard (Saya). Each step requires precision to ensure that all components fit together seamlessly and securely.
Preparation
Cleaning the Blade: The blade is thoroughly cleaned and polished to ensure there is no residue or moisture that could cause rust or interfere with the fitting process.
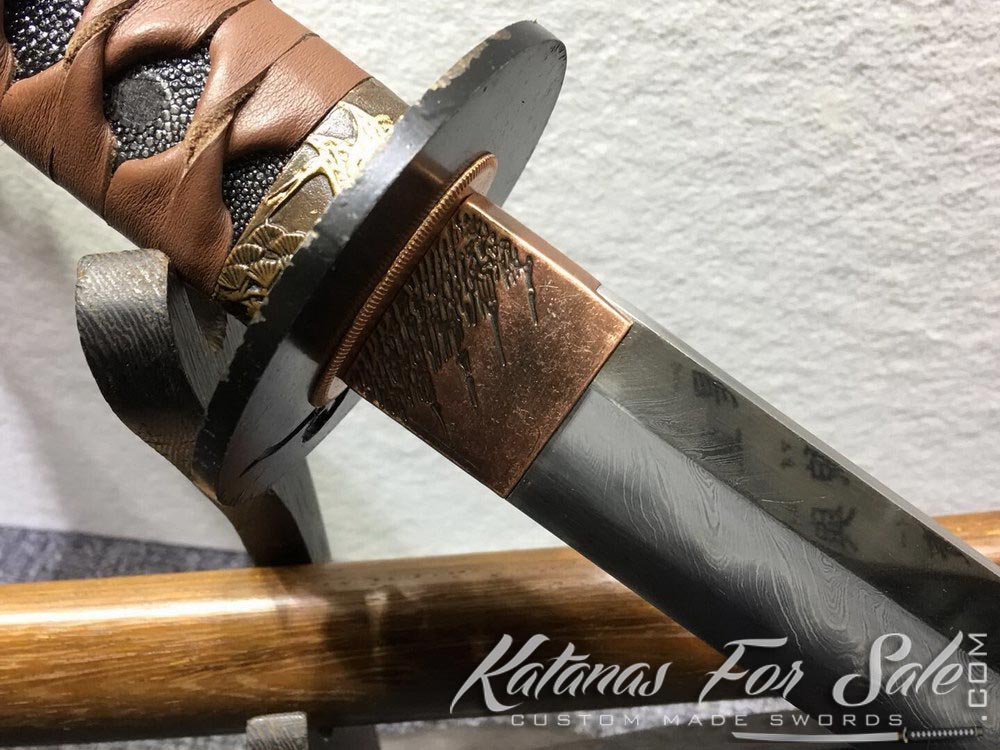
Fitting the Habaki
Habaki (Blade Collar): The Habaki is carefully fitted over the base of the blade (Nakago). It must fit snugly to ensure that the blade sits correctly in the scabbard and does not move or rattle. The Habaki is hammered gently into place and adjusted for a perfect fit.
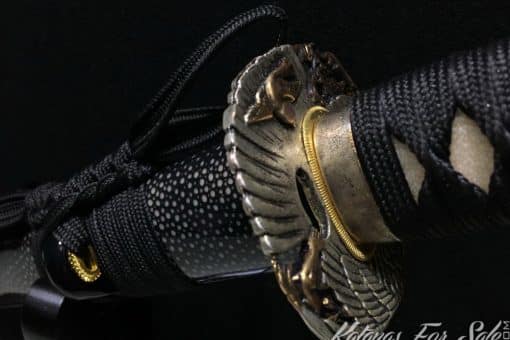
Securing the Tsuba and Seppa
Tsuba (Guard): The Tsuba is placed over the Nakago, resting against the Habaki. The Tsuba serves as the handguard and must be fitted precisely.
Seppa (Spacers): One or two Seppa are placed on either side of the Tsuba. These spacers ensure that the Tsuba fits tightly and does not shift. The Seppa are selected for their thickness to ensure a secure fit.
Fitting the Tsuka
Tsuka (Handle): The Tsuka is carved to match the shape of the Nakago, allowing it to slide over the tang of the blade. The handle is often made from wood and lined with Samegawa (ray skin) for added grip and texture.
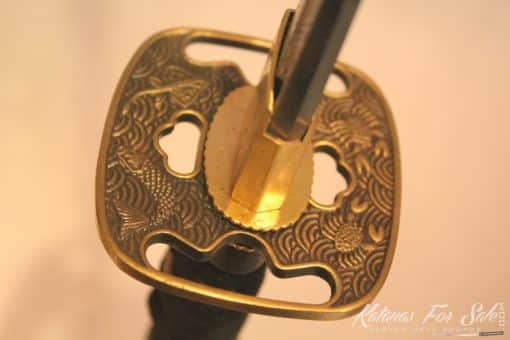
Drilling Mekugi-ana: Holes (Mekugi-ana) are drilled through the Tsuka and Nakago. The placement of these holes is crucial for securing the blade.

Securing with Mekugi
Mekugi (Peg): Bamboo or metal pegs (Mekugi) are inserted through the Mekugi-ana to secure the blade within the handle. Typically, one or two Mekugi are used, and they must fit tightly to prevent any movement.
Wrapping the Tsuka
Ito (Handle Wrapping): The Tsuka is wrapped with Ito, a cord made from silk, cotton, or leather. This wrapping provides a secure grip and adds to the sword’s aesthetic appeal. The wrapping process must be tight and even, ensuring that it does not come loose during use.
Inserting Menuki: Decorative grips (Menuki) are placed under the Ito wrapping on both sides of the handle, providing additional grip and decoration.
Fitting the Kashira
Kashira (Pommel): The Kashira is fitted at the end of the Tsuka, securing the handle wrapping and completing the assembly. It is often attached with a small cord or peg.
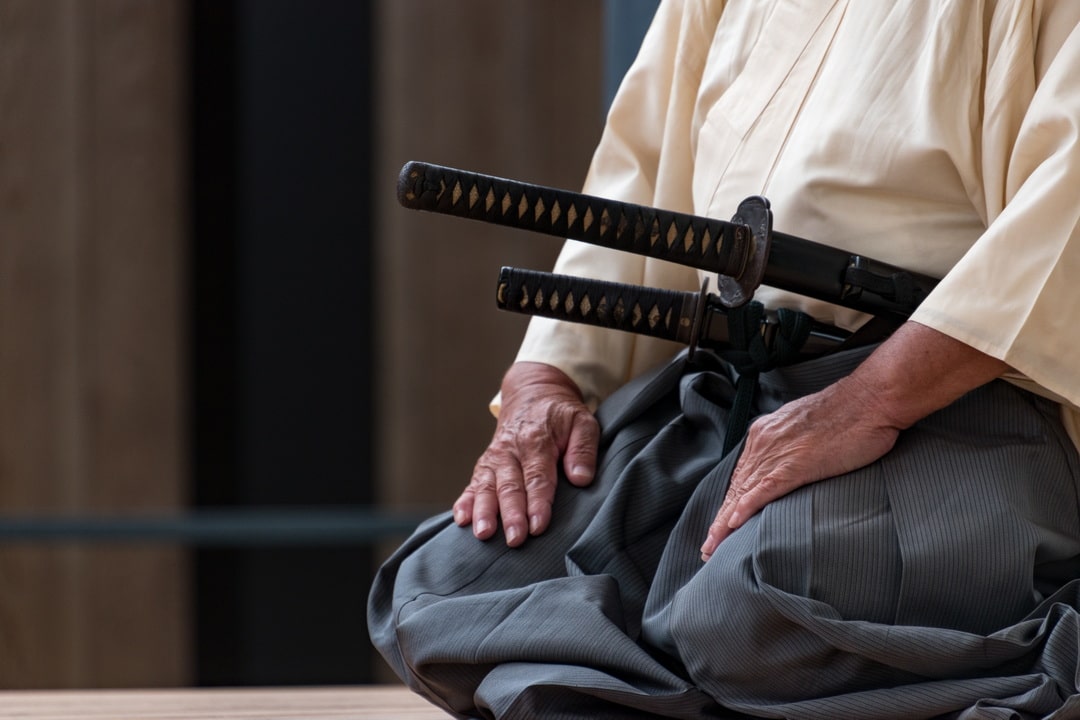
Assembling the Saya
Saya (Scabbard): The blade is inserted into the Saya, which is typically made from wood and lined to protect the blade. The Saya is often lacquered and may feature decorative elements.
Securing the Sageo: The Sageo, a cord used to secure the Saya to the samurai’s belt (Obi), is tied to the Kurikata (knob) on the Saya. The tying of the Sageo can vary in style depending on the tradition and intended use.
Final Inspection
Checking Fit and Finish: The entire assembly is inspected to ensure that all components fit together perfectly. The blade should sit securely in the Saya without rattling, and the Tsuka should be tightly secured to the Nakago with no movement.
